
Best EMA to Swing Trade: How to Use Moving Averages for Powerful Swing Trading Setups
When it comes to swing trading, timing is everything. The goal is to catch strong moves that last anywhere from a few days to a few weeks—and the right tools can make all the difference. One of the most reliable and versatile tools in a swing trader’s arsenal is the Exponential Moving Average (EMA). But what’s the best EMA to swing trade with? And how do you combine it with other tools for optimal entries and exits?
In this blog, we’ll break down:
-
What makes the EMA perfect for swing trading
-
The best EMA to swing trade in different market conditions
-
How to combine EMAs for even better signals
-
Why moving averages are crucial to swing trading psychology
-
The top strategies using the best moving averages for swing trading
Let’s dive in and explore how these tools can improve your swing trading edge.
What Makes EMA Ideal for Swing Trading?
Unlike the Simple Moving Average (SMA), the Exponential Moving Average puts more weight on recent price data. This feature makes it more responsive and better suited to identifying short- and medium-term trends—exactly what swing traders need.
EMAs help you:
-
Identify trend direction quickly
-
Spot dynamic support and resistance levels
-
Time pullbacks and trend continuations with greater precision
-
Avoid noisy signals that lag too far behind the market
Because of its faster response to recent price action, the EMA stands out as one of the best moving averages for swing trading. It adapts more quickly than an SMA, allowing you to stay in sync with current momentum.
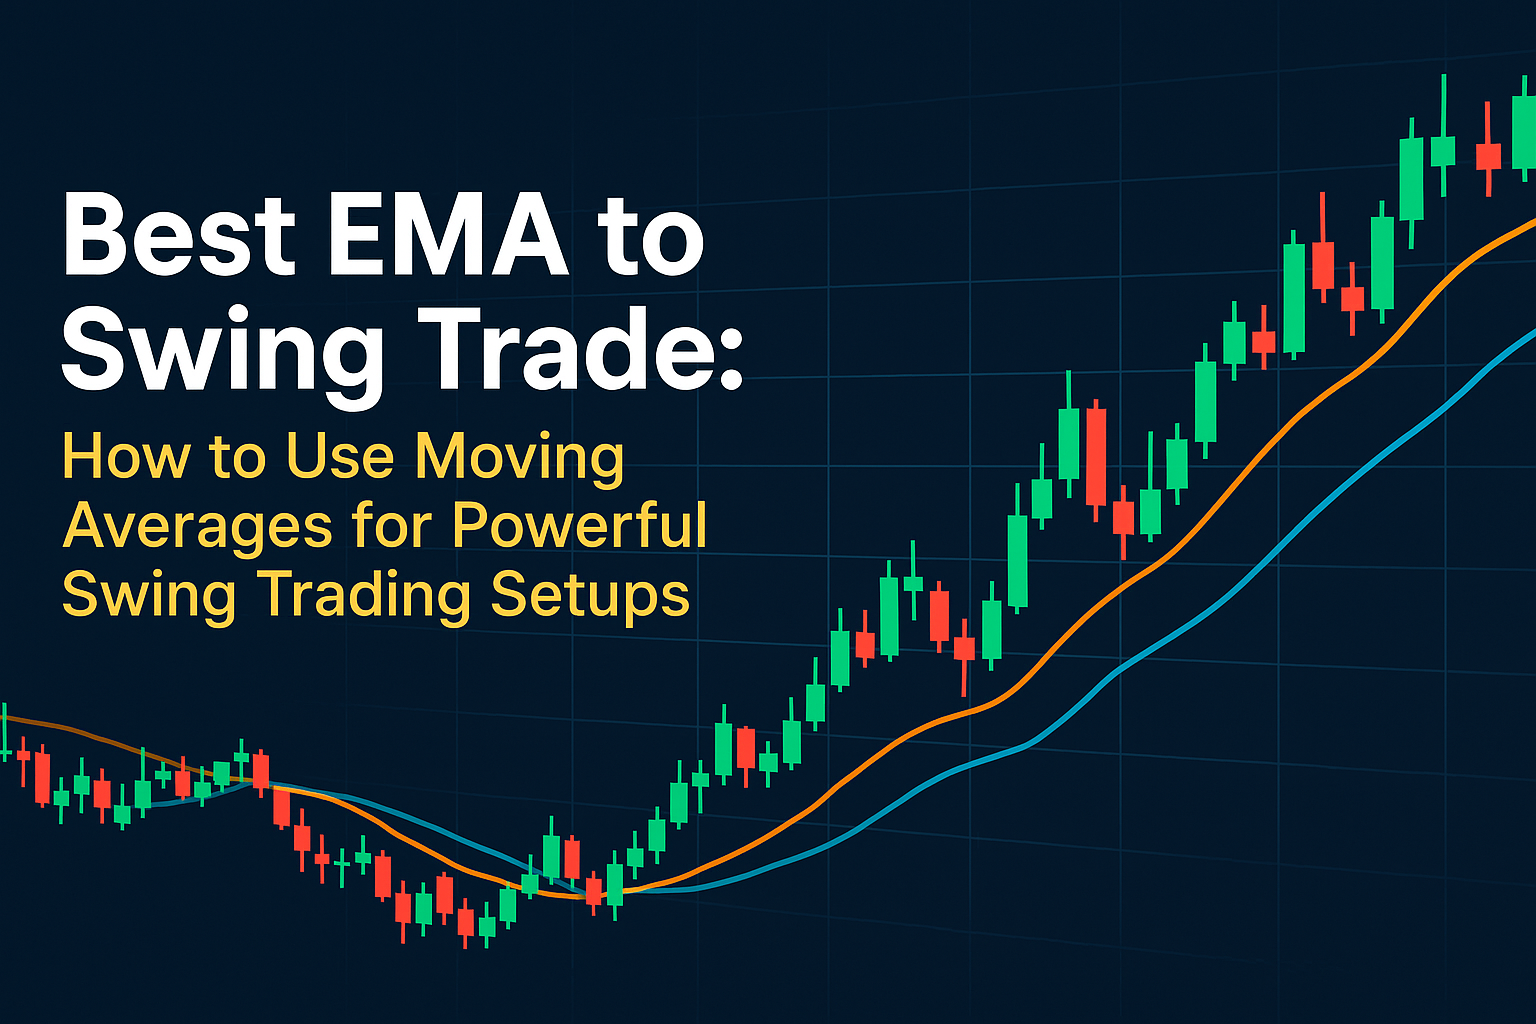
Best EMA to Swing Trade: Top Options
So, what’s the best EMA to swing trade? While there isn’t a one-size-fits-all answer, several EMAs have proven highly effective for swing traders in various environments.
1. 20 EMA – The Short-Term Swing Tool
-
Use: Catching quick pullbacks within strong trends
-
Why it works: Traders often respect the 20 EMA as dynamic support/resistance
-
Best for: Trending markets with consistent momentum
Especially when the trend is strong, the 20 EMA acts like a magnet for short-term pullbacks, providing ideal entry points.
2. 50 EMA – The Swing Trader’s Sweet Spot
-
Use: Tracking the core trend in swing trades
-
Why it works: It offers a balance between noise reduction and responsiveness
-
Best for: Identifying longer swing setups and cleaner entries
Moreover, the 50 EMA is popular among institutional traders, adding another layer of significance to its levels.
3. 100 EMA – Mid-Term Confirmation
-
Use: Confirming the dominant trend before entering
-
Why it works: Helps filter out false breakouts and trap setups
-
Best for: Confluence with structure and fib levels
Thus, the 100 EMA is excellent for adding confirmation, especially when aligning with major support or resistance.
4. 200 EMA – The Big Picture Guide
-
Use: Defining major trend bias
-
Why it works: It’s respected by institutions and widely used for trend direction
-
Best for: Avoiding trades against the long-term flow
In fact, many traders use the 200 EMA as their main filter to avoid trading against higher time frame momentum.
Depending on your style, combining two or three EMAs (e.g., 20/50/200) can help you form a more complete view of the market structure and flow.
Strategy: Combining EMAs for Better Entries
If you want to supercharge your swing trading, consider combining EMAs for layered confirmation.
Here’s a simple EMA swing strategy:
Setup:
-
Price above 200 EMA = Bullish Bias
-
20 EMA crosses above 50 EMA = Momentum signal
-
Price pulls back to 20 or 50 EMA = Entry Zone
-
Look for a bullish candlestick pattern or volume spike as confirmation
Stop Loss:
-
Below recent swing low or below the 50 EMA
Target:
-
Previous high or next resistance zone
-
Or use trailing stops based on EMA slope
This strategy works well in trending markets and, importantly, helps you avoid entry traps in choppy price action.
Why Moving Averages Improve Swing Trading Psychology
Swing trading isn’t just about strategy—it’s also about confidence and discipline. EMAs help you stay grounded by giving you:
-
Visual guidance on trend direction
-
Clear invalidation points (for stops)
-
Confidence in holding trades longer
-
A structured framework to avoid emotional entries
Consequently, using the best moving averages for swing trading gives you not only technical clarity but also psychological stability in the heat of the moment.
Boosting Your Edge: Combine EMAs with Order Flow and Supply & Demand
While EMAs provide powerful insights into trend direction and pullback entries, their true potential shines when combined with order flow and supply & demand analysis.
Here’s why this combination is so effective:
-
Order Flow: EMAs show where to enter; order flow confirms when. With tools like footprint charts, delta, and bid/ask imbalances, you can see whether aggressive buyers or sellers are supporting your EMA levels.
-
Supply & Demand: Use EMAs to trail or target trades that originate from institutional supply and demand zones. When price reacts off a strong demand level and lines up with the 20 or 50 EMA, it often produces high-probability continuation trades.
Not only does this add an extra layer of confirmation, but it also gives you a better understanding of market intent. This triple-stack approach—EMA + Order Flow + Supply & Demand—helps you trade with structure, precision, and higher conviction.
Final Thoughts: What’s the Best EMA to Swing Trade?
To summarize:
-
The 20 EMA is ideal for aggressive, trend-following swing trades
-
The 50 EMA is the best all-around tool for clean, reliable setups
-
The 100 EMA helps with trend confirmation
-
The 200 EMA gives you big-picture alignment and bias
Ultimately, the best EMA to swing trade is the one that fits your personality, timeframe, and overall strategy. Many traders combine multiple EMAs to filter trades and build confidence in their decisions.
However, don’t stop there—layer your EMAs with order flow and supply & demand for maximum edge and clarity.
Ready to Take Your Swing Trading to the Next Level?
If you’re truly committed to becoming a consistently profitable swing trader, it starts with mastering the right tools—and more importantly, knowing how to combine them effectively.
Recommended Resources:
-
Orderflow Trading Masterclass
Learn how to read the market’s true intent using delta, volume clusters, and imbalance zones.
Join here → -
Supply & Demand Trading Masterclass
Master institutional price zones and smart money behavior. Combine it with EMAs for swing entries that stick.
Start learning here → -
IC Markets – Our Recommended Broker
Raw spreads, lightning execution, and real depth of market—ideal for technical and order flow-based swing trading.
Open your account here →
Swing smarter. Combine your tools. Trade with clarity.