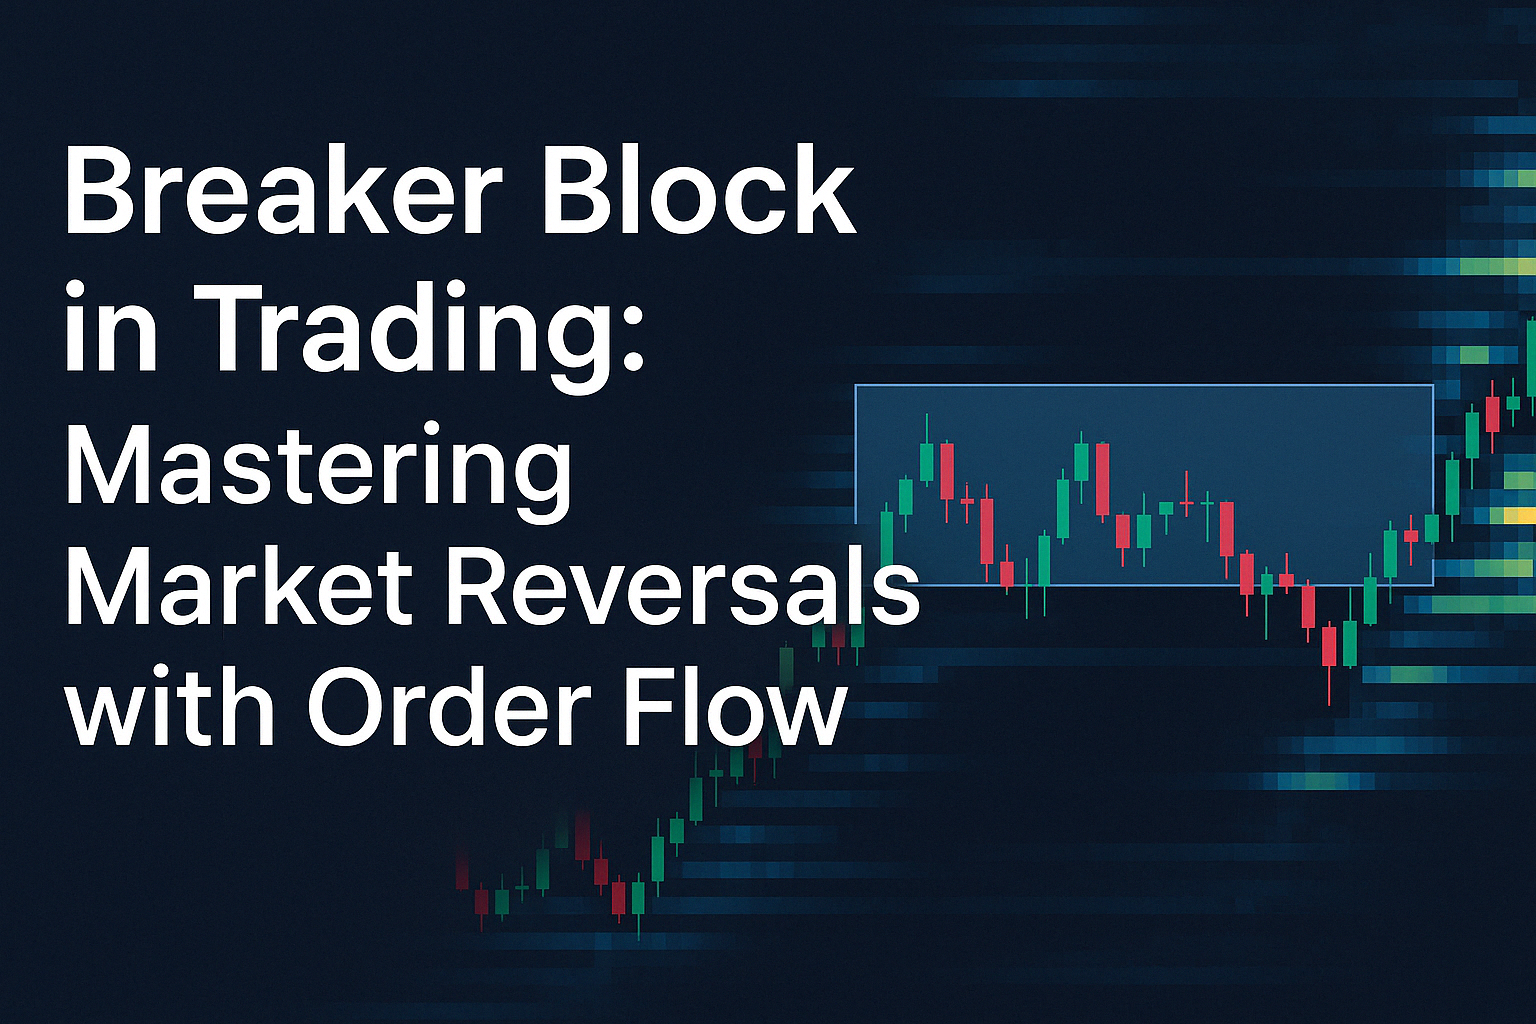
Breaker Block in Trading: Mastering Market Reversals with Order Flow
Have you ever seen price break a level, come back to retest it, and then explode in the opposite direction? Breaker Block in trading
If so, you were likely witnessing a breaker block in action.
Whether you’re studying ICT (Inner Circle Trader) or diving into smart money trading, understanding breaker blocks can significantly improve your edge—especially when combined with order flow confirmation.
In this blog, we’ll explain:
-
What a breaker block is
-
The difference between a breaker block vs order block
-
How to spot bullish and bearish breaker blocks
-
And finally, how to use them effectively with real-time order flow tools
📖 What Is a Breaker Block in Trading? Breaker Block in trading
To put it simply, a breaker block is a powerful reversal zone that forms when a previous order block (OB) fails and price breaks structure before returning to retest the broken OB area. At this point, the old zone now acts as support or resistance.
🧠 Breaker Block ICT Definition / Breaker Block in trading
According to ICT methodology, a breaker block occurs when:
-
Price makes a high or low (usually forming an OB)
-
That level is violated with displacement
-
Price returns to the same zone
-
Instead of holding, the zone flips its role—from support to resistance or vice versa
Therefore, the breaker block becomes a reversal signal, and it often aligns with institutional intention.
🔄 Breaker Block vs Order Block: Key Differences
Although they may look similar, a breaker block and an order block serve different purposes. Here’s a simple comparison:
| Feature | Order Block | Breaker Block |
|---|---|---|
| Purpose | Entry zone for trend continuation | Entry zone for reversals |
| Structure | Last candle before impulsive move | Failed OB that price revisits |
| Usage | Follows current trend | Signals trend shift or trap |
| Confirmation | Works with FVGs and liquidity grabs | Works with BOS and flip zones |
In short, while order blocks support trend continuation, breaker blocks tell you the trend may be over.
📉 Bearish Breaker Block vs 📈 Bullish Breaker Block
Let’s break them down for easier understanding.
✅ Bullish Breaker Block
A bullish breaker forms when:
-
A bearish order block fails
-
Price breaks structure to the upside
-
The market returns to the failed OB, which now acts as support
-
Buyers take over, and price continues upward
This is often seen during bullish reversals, especially after stop runs.
❌ Bearish Breaker Block
A bearish breaker forms when:
-
A bullish order block breaks
-
Price shifts lower, breaking structure
-
On the retest, the old OB acts as resistance
-
Sellers dominate, pushing price downward
These setups appear frequently on Nasdaq (MNQ), EURUSD, or Gold during New York or London sessions.
📊 How to Use Breaker Blocks With Order Flow
Now that you understand the structure, let’s talk about how to confirm breaker blocks with order flow tools. Doing so allows you to trade smarter—not just faster.
🔹 Footprint Charts
Footprints show buy and sell volume at each price level. When price returns to a breaker block, check for:
-
Imbalances
-
Rejection wicks
-
Heavy selling (in a bearish breaker) or buying (in a bullish breaker)
🔹 Delta Volume
This shows buyer vs seller aggression. In a bullish breaker, you want to see positive delta and growing momentum.
🔹 Bid/Ask Imbalance
Look for shifts in dominance—sellers fading and buyers stepping in, or vice versa. This validates the breaker.
For full mastery of these tools, explore the
👉 Orderflow Trading Masterclass
🧱 Example: Trading a Bullish Breaker Block
Let’s walk through a typical setup:
-
Nasdaq forms a bearish OB and breaks structure to the upside (BOS)
-
Price returns to the failed OB zone
-
Delta shows buying pressure
-
Footprint confirms imbalance
-
You enter long with a stop just below the breaker zone
This is a clean, repeatable setup when used with order flow confirmation.
🧠 Tips for Trading Breaker Blocks Like a Pro
-
Always wait for a clear break of structure
-
Avoid guessing—use real-time confirmation
-
Focus on session timing—NYSE Open and London Open are ideal
-
Use breaker blocks with FVGs or liquidity grabs for better accuracy
The more confluence you add, the higher your probability of success.
🎓 Learn to Trade Breaker Blocks with Structure & Flow
To truly take advantage of breaker blocks, you need to understand market structure and combine it with volume logic.
Here’s how to learn it step-by-step:
📘 Supply & Demand Trading Course
You’ll learn:
-
How to spot real institutional OBs and breaker zones
-
When to trade continuation vs reversal
-
How to align entries with market structure shifts
📊 Orderflow Trading Masterclass
You’ll master:
-
Reading footprint charts
-
Delta shifts and absorption
-
Reversals powered by order flow confirmation
Together, these two strategies let you build your edge like a funded pro.
⚙️ Use the Right Broker for Breaker Setups
To execute precise trades—especially during high volatility—you need a reliable, fast broker. That’s why we recommend:
🔗 IC Markets
-
Raw spreads and deep liquidity
-
Lightning-fast execution
-
Ideal for scalping breaker blocks or trading reversals
-
Supported on MT4, MT5, and cTrader
If you’re trading live or in a prop firm evaluation, execution matters—IC Markets delivers.
🔚 Final Thoughts: Trade Reversals with Confidence
Breaker blocks are some of the most underrated tools in smart money trading.
✅ They help you trade reversals with precision
✅ They flip zones into new support/resistance
✅ When paired with order flow, they create sniper-level setups
So next time you see price break structure and revisit a zone…
Ask yourself: Is this an order block—or a breaker block?
Then… trade accordingly.


